Creating a Basic Dodeca Application
There are several steps to preparing a Dodeca application for deployment. To setup a new application, it is necessary to follow these steps:
-
Choose a tenant code for the metadata.
-
Initialize the metadata for the tenant.
-
Determine the Launch URL for the new application.
-
Launch the Dodeca client with the new URL.
-
Create Essbase Connection definitions.
-
Import dimensions and create Selectors and Selector Lists.
Choosing a Tenant Code
The first necessary step in setting up a new application is choosing a tenant code under which to store metadata. The tenant code is a unique ID that separates applications metadata from the metadata of other applications which may be deployed from the same Dodeca server. Technically speaking, the tenant code is one of the primary keys in the main database table underlying the Dodeca system and is intended explicitly for separating the metadata of significantly different applications which may be in the system.
The difference between a tenant code and an application for which there is a metadata editor can be somewhat confusing. Think of a tenant code as a major segregation between the different applications to be deployed while an application is a minor segregation. A minor segregation means that there are relatively minor differences between the applications but many pieces of metadata, including View definitions, Toolbars, Essbase Connections, Selectors and Selector Lists that may be shared between the applications. It may be easier to see the differences through an example.
Assume an Administrator wishes to deploy Dodeca to their Finance organization and requires having several different types of users in the application. They may want to designate a few users as administrators, some as power users and still others as data input users. These users will be reading data from the same Essbase databases and may even see many of the same views. In this case, the Administrator may choose a tenant code such as FINANCE and, within the tenant code, configure three different applications, ADMIN, POWERUSERS and INPUT. The name of the tenant and application codes can be anything but generally they are descriptive.
Now assume that this same administrator also wishes to use Dodeca in their Marketing department. Should they use the same tenant code or set up a separate tenant code? If they do not plan to reuse any of the View definitions, Essbase Connections or other artifacts for the Marketing users, they should use a different tenant code. Otherwise, the FINANCE tenant code could be used by adding one or more marketing oriented applications to the single tenant code.
| By convention, both the tenant code and the application code are normally expressed in all capital letters with only alphanumeric characters and no spaces. |
Initializing the Tenant Code
After choosing a tenant code, it is necessary to initialize this new tenant code in the Dodeca system. The initialization process is used to seed the metadata database with basic metadata that every Dodeca application uses. The metadata that is required includes toolbars and at least one application object. Fortunately, Dodeca ships with a collection of metadata called the Metadata Starter Kit that includes all of the pieces of metadata necessary to start a typical application.
The Dshell is installed with the Dodeca server installation and initializes the tenant code. To initialize a tenant code, follow the steps described in this section.
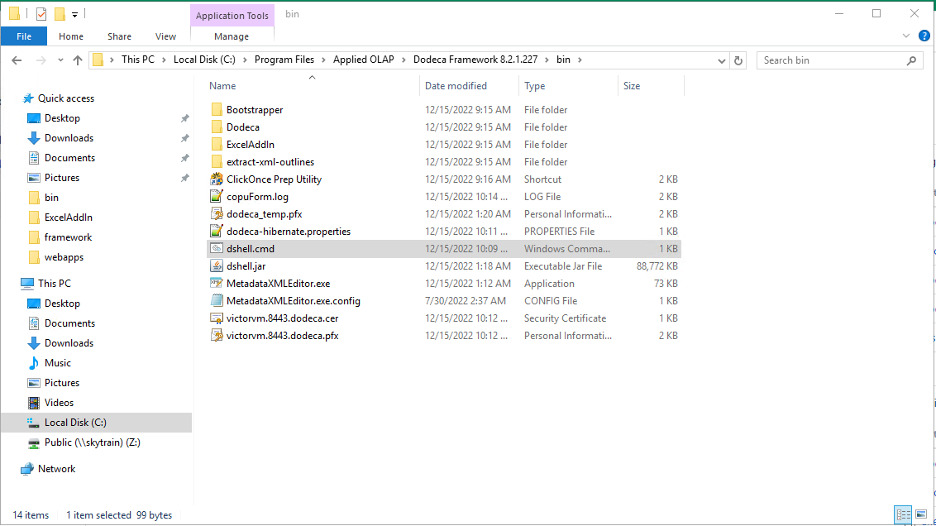
Click on dshell.cmd to open the Dshell Command window.
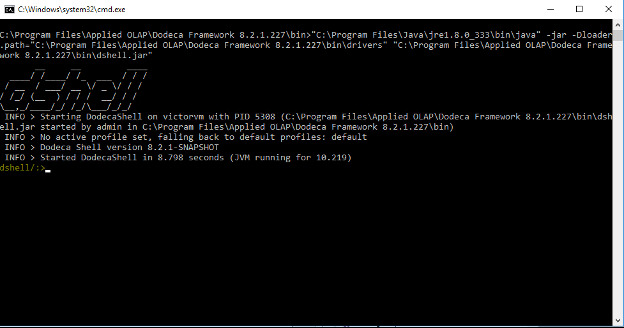
Enter the command “connect dodeca-hibernate.properties”
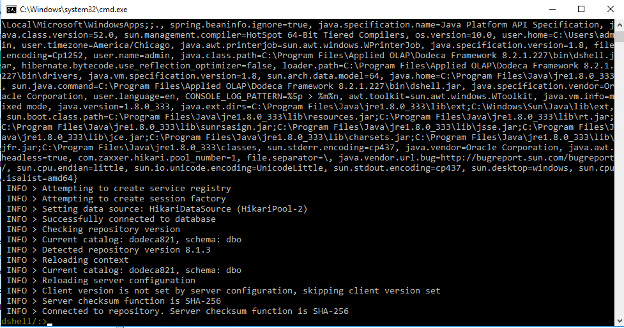
The image above indicates when a successful connection to the database has been completed.
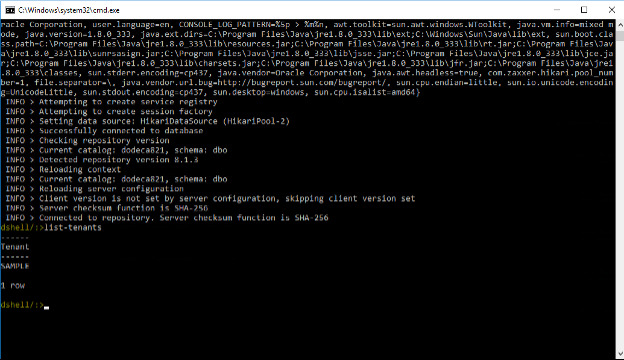
The command “list-tenants” will show what tenants are available in the database.
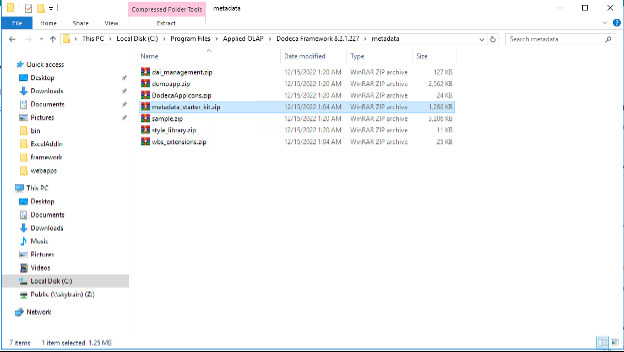
In the metadata directory, samples of metadata are available for testing. For this example, “metadata_starter_kit” will be used.
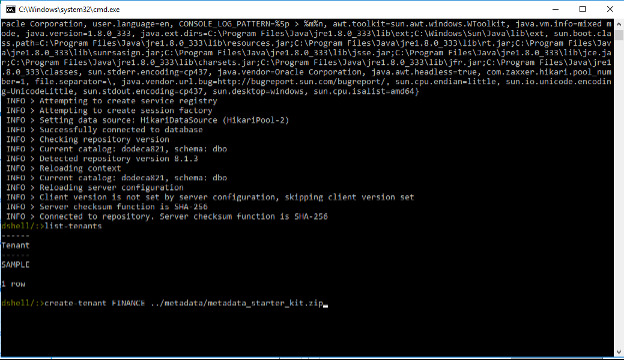
Enter the following command to create a Tenant along with a metadata zip file. “create-tenant <TENANT> ../metadata/metadata_starter_kit.zip"

Enter the command “list-tenant” again to see the new Tenant created.
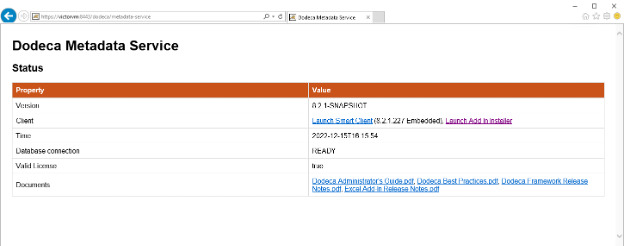
On a web browser, enter the following URL “http://<server>:<port>/dodeca/metadata-service". Click on “Launch Smart Client” hyperlink.

The ClickOnce launcher dialog appears while the Microsoft .NET ClickOnce process checks the computer for the proper installation of the Dodeca client.
If the Dodeca application needs to be installed on the computer, the following Application Run dialog displays. Click Run to install the Dodeca client.
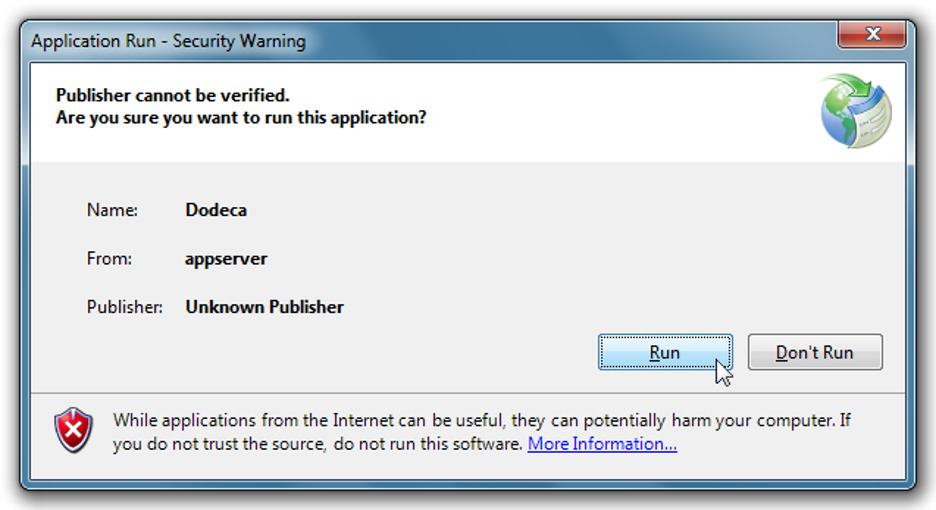
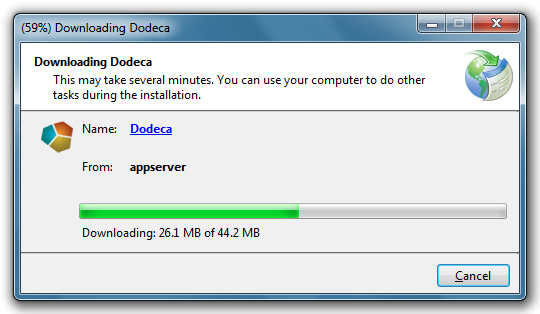
The Publisher field reflects the name of the organization that owns the digital signing key. If you use the temporary key provided by Applied OLAP, Inc., the value of the Publisher field will be printed as Unknown Publisher.The installation proceeds and updates its progress in the dialog. The amount of time required to install Dodeca on a client workstation varies based on network speed.
The install only occurs on the first access to the product and when an updated version is available from the server.

After the installation is complete, the window below will appear.
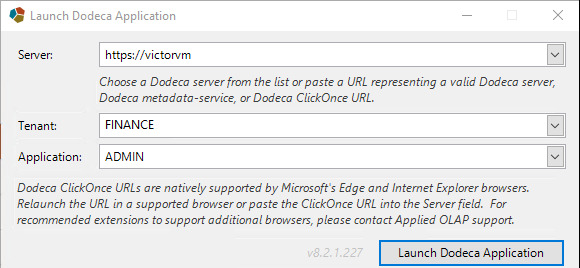
Enter your Tenant and Application information and click on “Launch Dodeca Application.”
The Smart Client will launch for the desired Tenant.
Launching the Dodeca Client
Open Microsoft Internet Explorer and paste the URL copied in the previous step into the address bar.

Press Enter or click the Go To button to launch an instance of the ADMIN application for the tenant FINANCE.
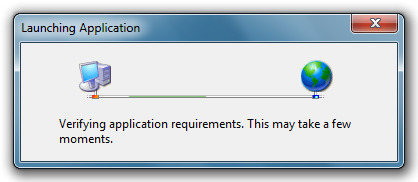
The ClickOnce launcher dialog appears while the Microsoft .NET ClickOnce process checks the computer for the proper installation of the Dodeca client.
If the Dodeca application needs to be installed on the computer, the following Application Run dialog displays. Click Run to install the Dodeca client.

| The Publisher field reflects the name of the organization that owns the digital signing key. If you use the temporary key provided by Applied OLAP, Inc., the value of the Publisher field will be printed as Unknown Publisher. |
The installation proceeds and updates its progress in the dialog. The amount of time required to install Dodeca on a client workstation varies based on network speed.
| the install only occurs on the first access to the product and when an updated version is available from the server. |
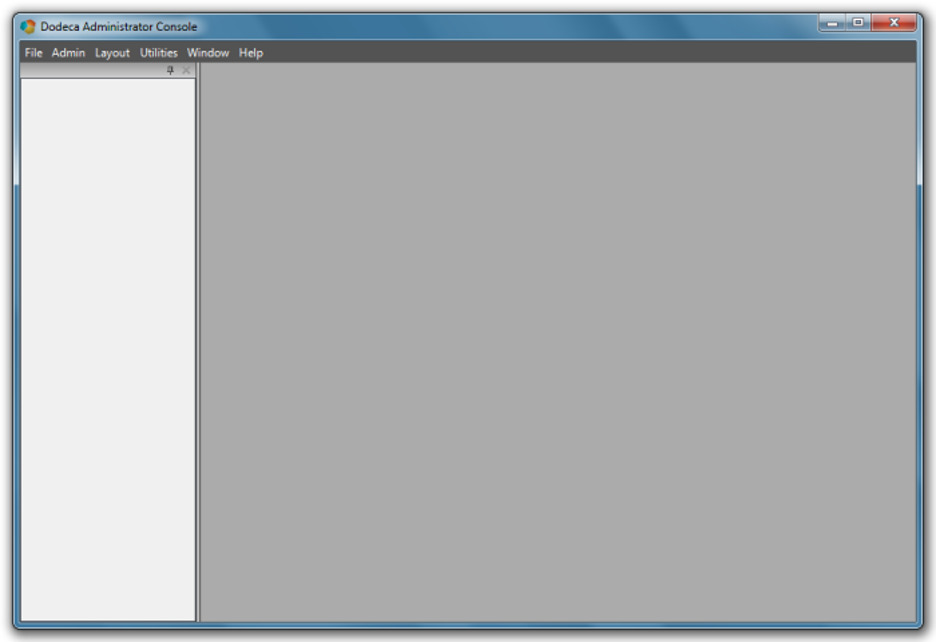
Once the installation is complete, the Dodeca Smart Client launches.

Creating Essbase Connection Definitions
Once the Dodeca Smart Client has launched, the next step is to configure one or more Essbase Connections for use in the application. The easiest way to configure Essbase Connections is to use the Import Essbase Connections wizard.
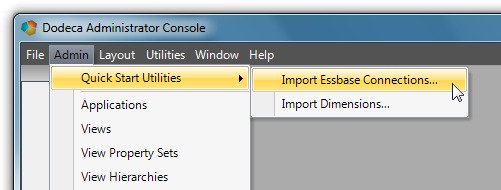
To use the wizard, select Admin > Quick Start Utilities > Import Essbase Connections.
The wizard starts and displays the following dialog:
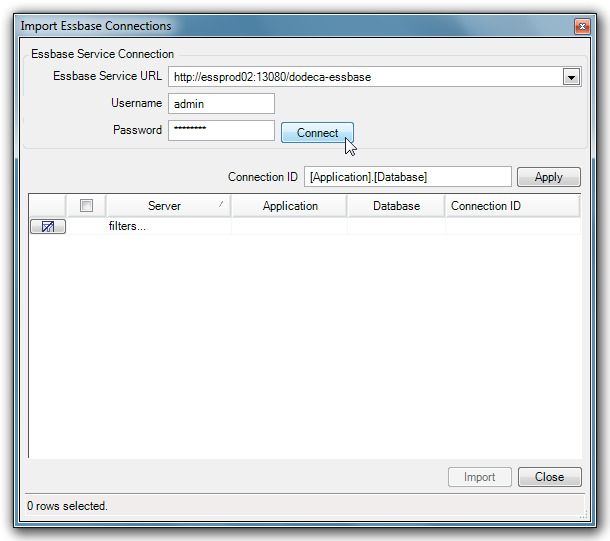
Enter the URL to the Dodeca Essbase service installed on the server along with a Username and Password. Optionally, enter a Connection ID pattern for use to name connections. When those items have been properly entered, click Connect to get a list of servers, applications and databases available at the given Essbase service location.
| The list of servers, applications and databases are limited based on the security credentials of the username entered. We recommend the use of an administrator username for this step of the wizard. |
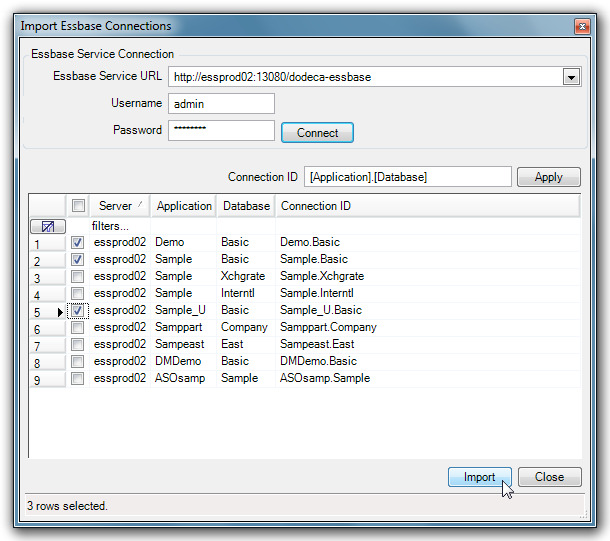
Select the check box for each connection you want to import into Dodeca.
If you want to select all of the available connections, click the check box on the title bar of the grid selector.
Click Import to create the specified connection objects and click OK when prompted.
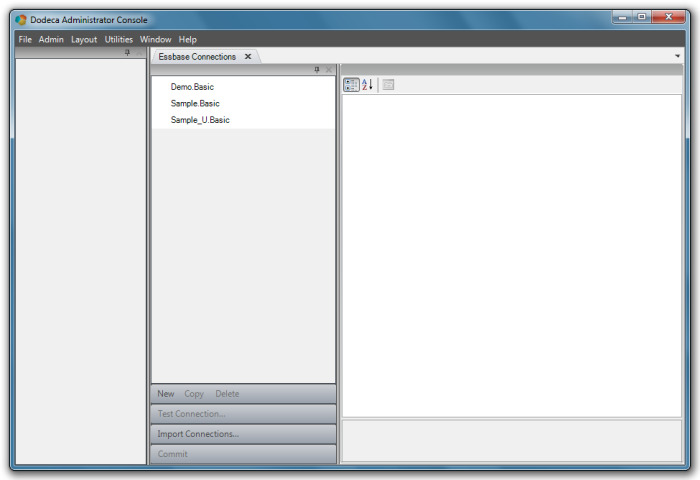
The Essbase Connections have now been created and stored in the metadata database.
Click Close to exit the wizard.
The Essbase Connections metadata editor opens in a new tab and displays your newly imported connections.
Creating Selectors and Selector Lists
The next step in the configuration process is to create both Selectors and Selector Lists. To reiterate, Selectors are the objects that define the dimensions or sources from which users may make selections to filter their views. Selectors also define the tokens that may be used to substitute into worksheets, Essbase report scripts, Essbase calc scripts and SQL scripts. Additionally, Selector Lists provide both the contents of the list from which a user may choose in a selector and the configuration of the user interface.
Importing Dimensions
The easiest way to configure Selectors and Selector Lists is to use the Dodeca Quick Start Utilities Import Dimensions wizard.
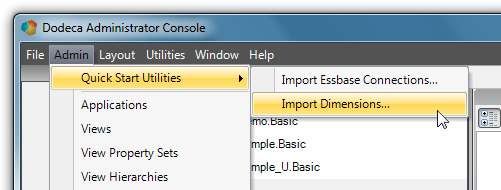
To use the wizard, select Admin > Quick Start Utilities > Import Dimensions.
The Import Dimensions wizard launches. It should look something like the dialog shown on the following page:
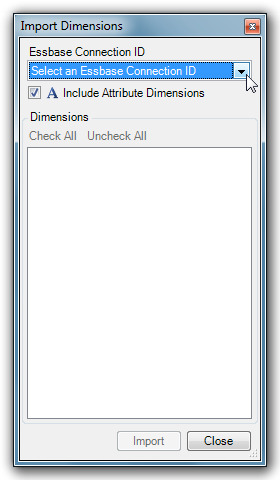
Select an Essbase Connection ID to get a list of dimensions. Optionally, select the Include Attribute Dimensions check box to see attribute dimensions in addition to the base dimensions.
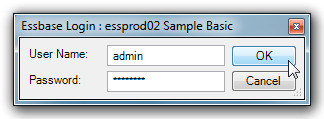
A dialog prompts for username and password information before the dimensions display.
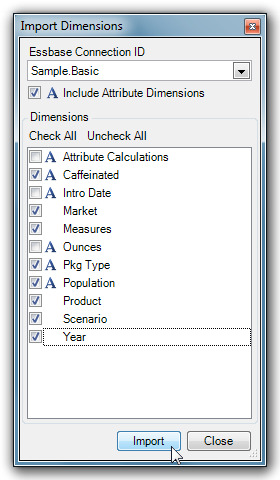
Once the dimensions display, select the dimensions for which to create Selectors and Selector Lists and click Import. Once dimensions have been imported from one Essbase database, the process may be repeated to change connections and import dimensions from another Essbase database.
| If the dimension names are repeated in different databases, it is only necessary to import them once. Selectors are not tied to a specific database and may be reused with different Essbase connections when the dimension name is the same. |
After all desired dimensions have been imported, click Close to close the wizard. The Essbase Selectors metadata editor remains open with the selected dimensions set up as Selectors.
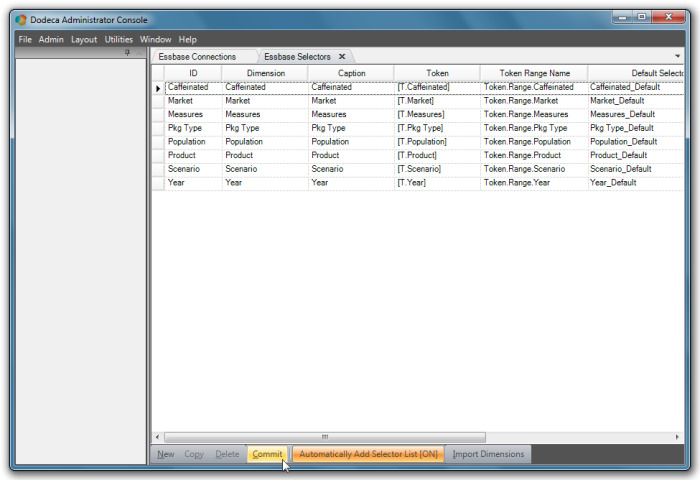
At this point, the Selector definitions have not been committed to the database and the Commit button is enabled. The reason the Selectors are not committed is to allow changes to the ID of the Selector. The ID property becomes read-only after the initial commitment process. By default, the Automatically Add Selector List button is toggled on to indicate that corresponding Selector List objects will be created for each dimension. When this button is toggled on, the Default Selector List column of the Selector Lists metadata editor will have an entry for the Selector List.
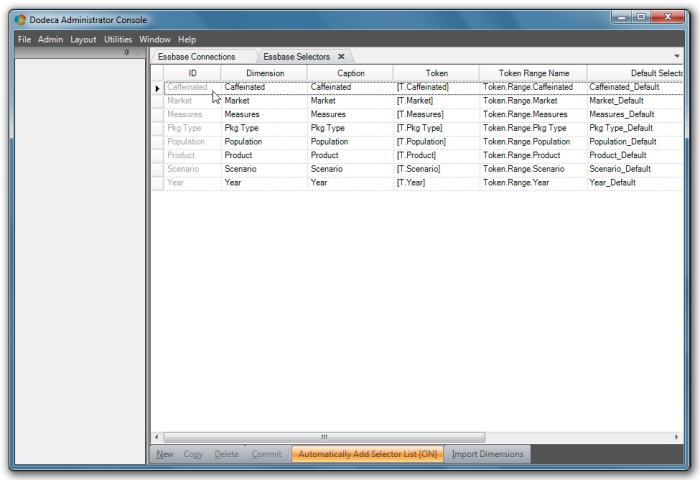
Click Commit and the Selectors are committed to the metadata database. After the commit process is complete, the ID column is disabled because the property is read-only.
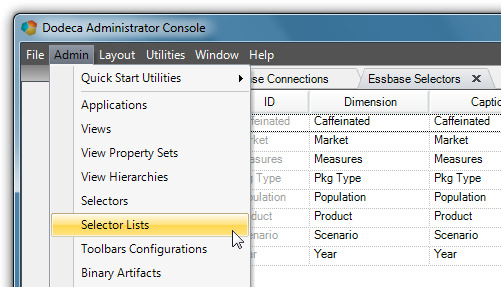
Additionally, Selector Lists the wizard created were also committed. To view the Selector Lists, Select Admin > Selector Lists from the Dodeca menu.
The Selector List metadata editor opens. Select a Selector List in the Metadata List panel to see its properties.
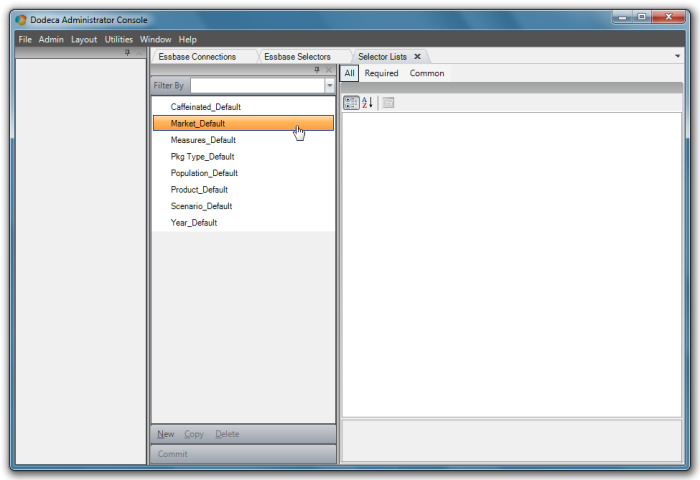
Once an item is selected from the list, Dodeca retrieves the properties from the metadata database and displays them in the metadata editor, as seen in the following screenshot.
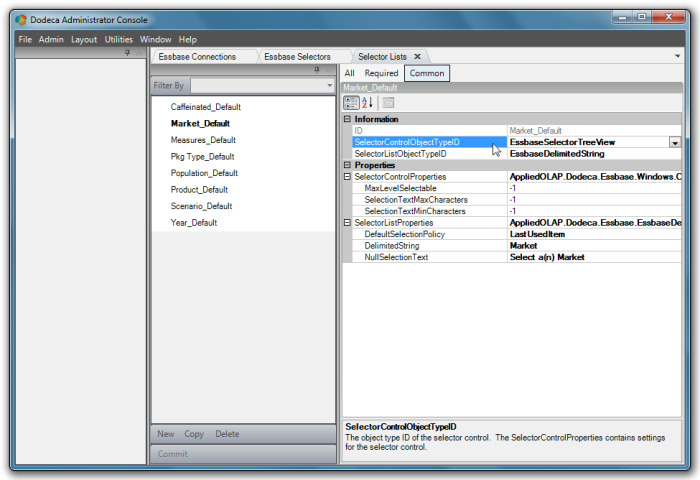
EssbaseDelimitedString is the default list type for Selector Lists the wizard creates. It displays in the selector control type, EssbaseSelectorTreeView. This combination allows users to select members from a treeview control that is filled from an Essbase outline. The root member for the treeview control is based on a fixed string which, by default, is the name of the dimension. The user can to pick from a treeview containing all of the members of the dimension.
| If the user is assigned to have filter security in Essbase and the filter contains the METAREAD filter tag, the members available for selection are based on the user’s access to members subject to the given METAREAD restrictions. |
Default selector list configurations may be edited in the Selector List metadata editor. Once the editing process is complete, close the metadata editors by clicking on the window close icon located on the tab of the metadata editor.
Review
The necessary infrastructure to create a view in Dodeca is complete.
Now is a good time to review the processes you followed to set up a new application. Preparing the Dodeca application for deployment required following these steps:
-
Choosing a tenant code for your metadata.
-
Initializing the metadata for the tenant.
-
Determining the Launch URL for the new application.
-
Launching the Dodeca client with the new URL.
-
Creating Essbase Connection definitions.
-
Importing dimensions and created Selectors and Selector Lists.