Toolbar Configuration
Dodeca provides the Administrator with the ability to customize and configure toolbars to fit the specific needs of different user groups. Administrators can edit existing toolbars by adding or removing tools or by copying and renaming with added tools. For this tutorial, a simple Workbook Script will be created and then associated with a tool. Adding this tool to an existing toolbar and renaming it will give the user the ability to initiate the Workbook Script by clicking on the tool.
Creating a workbook script
From the menu select Admin > Workbook Scripts.
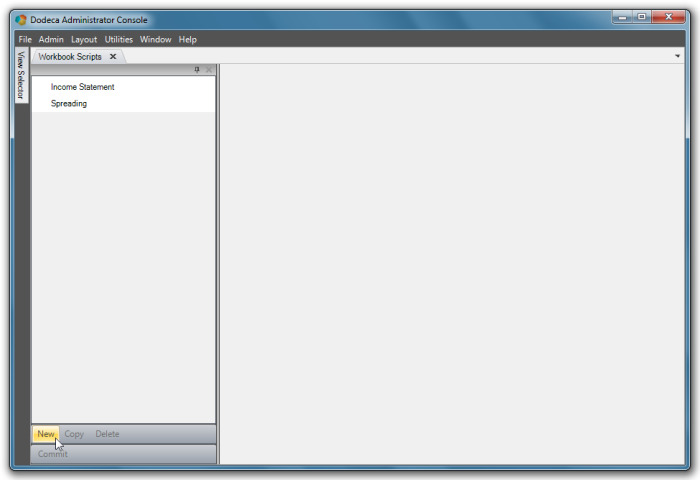
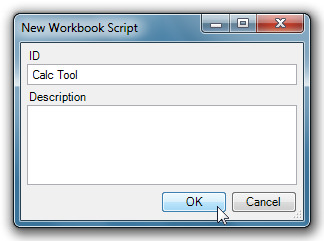
Click New and the New Workbook Script dialog displays.
Give the new workbook script the ID Calc Tool and press OK to continue.
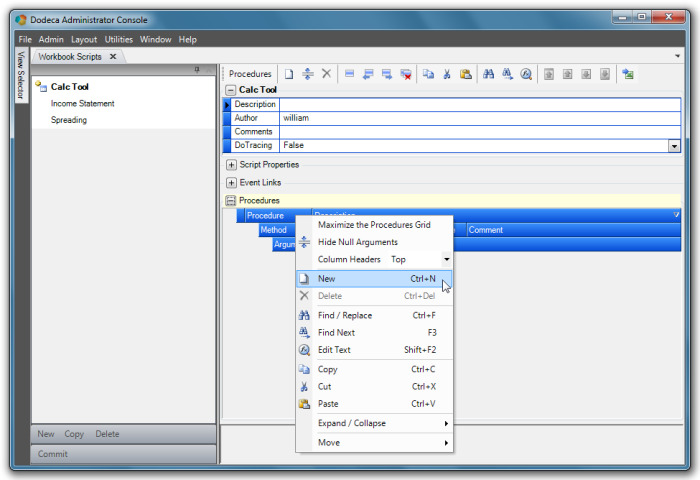
The Calc Tool Workbook Script automatically opens for editing.
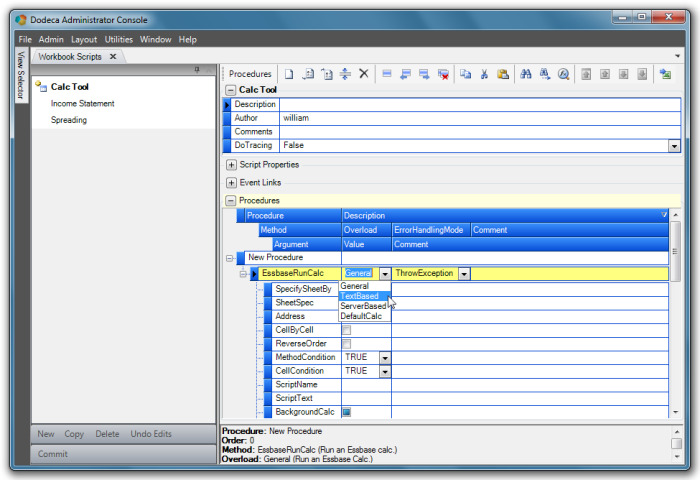
Right click on the Procedures column to display a menu, click on New in the menu to create a new procedure.
The new procedure will opens the Method selection menu. Select EssbaseRunCalc for the method.
In the Overload column (immediately to the right of the Method), select Text Based from the menu.
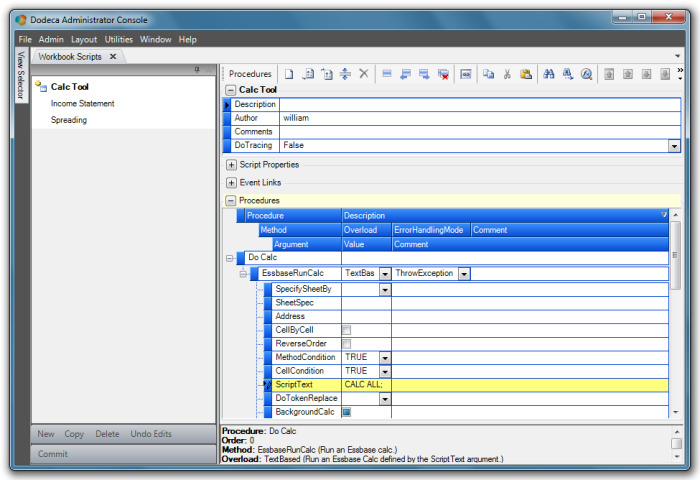
Select the ScriptText row and type in 'CALC ALL;' as the Argument Value.
Change the Procedure name by highlighting New Procedure and typing 'Do Calc'.
To add a message box to the procedure, highlight and right click on the EssbaseRunCalc method row. Click Add a new Method below the selected row option from the dialog menu.
Select ShowMessageBox for the method. Scroll down to the Message Argument, highlight it, and type in 'The Calc is Complete' for the value.
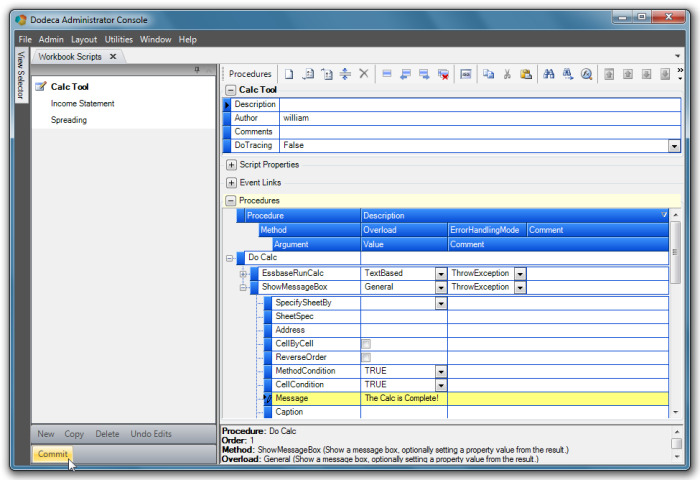
Click Commit to save the changes.
You can use this Essbase run calculation Workbook Script in any view, but for purposes of this tutorial, it will be the function of the new tool configured into a newly created toolbar.
Copying and Re-naming an Existing Toolbar
From the menu, select Admin > Toolbar Configurations. Select Essbase View Standard Limited and then click Copy.
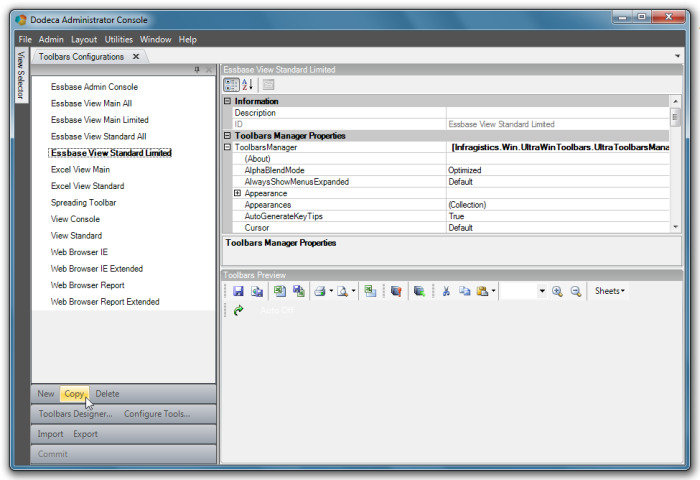
The Copy Toolbars Configuration dialog displays.
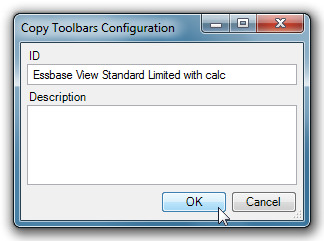
Give the new toolbar the ID Essbase View Standard Limited with calc and click OK.
The original Essbase View Standard Limited Toolbar Configuration could have been edited to include a new tool, but in that scenario, every other view associated with that toolbar configuration would be changed as well. Copying and re-naming the configuration allows an Administrator to create custom toolbar configurations without losing the original version.
Toolbars Designer
The new configuration is now in the Toolbars Configuration Metadata Editor list and can be selected.
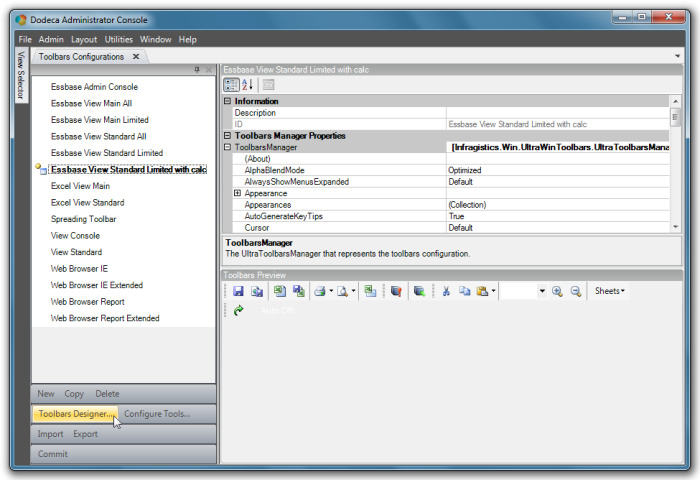
Click Toolbars Designer. A Toolbars Designer opens specific to the Essbase View Standard Limited with calc configuration.
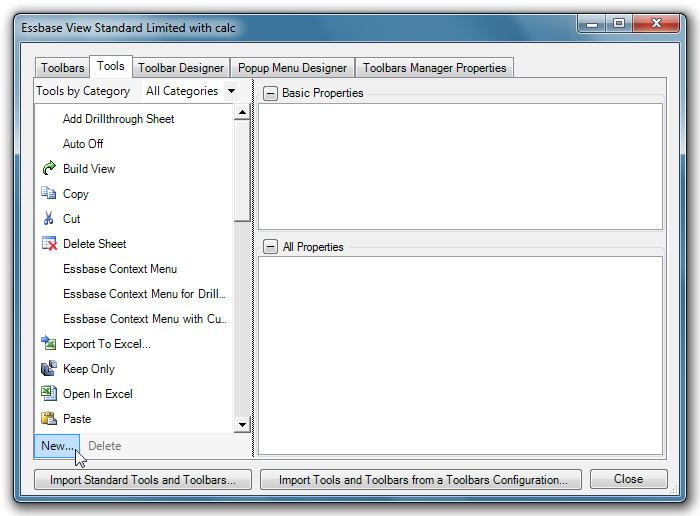
Select the Tools tab and click New.
A New Tool dialog displays. Select Button for the Tool Type, Calc for the Caption, Calc for the Key, and Essbase for the Category.
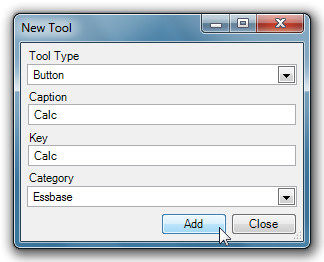
Click Add and then Close.
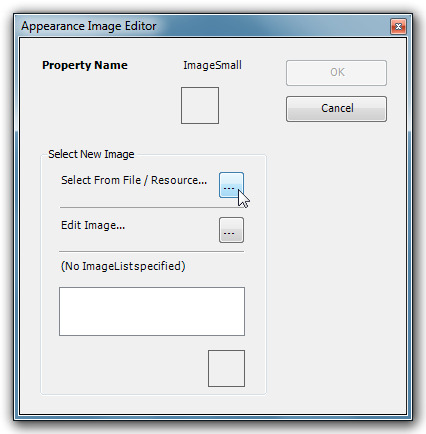
The Calc tool now appears in the list. Select the Calc tool and then select the ImageSmall property. Click on the ellipses to the far right to open the Appearance Image Editor dialog.
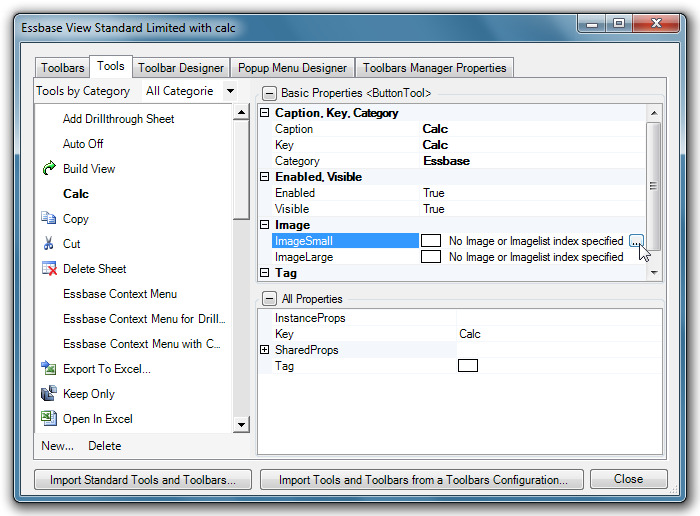
To add an image, click on Select From File/Resource ellipses and select an image from your files to associate with the tool. For this example we will use a small calculator icon for the image.
Move to the Toolbar Designer tab. Select the Toolbar dropdown menu and select Essbase.
The Essbase tools already associated with the configuration display in the list on the left.
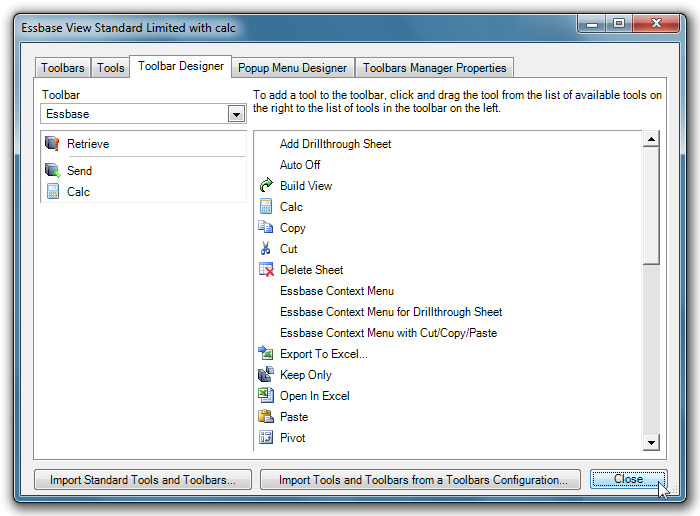
A list of additional Essbase tools, including the newly created Calc tool, display in the list on the right. Drag and drop the Calc _ tool to the left menu and place it below the _Send tool.
Close the Toolbar Designer.
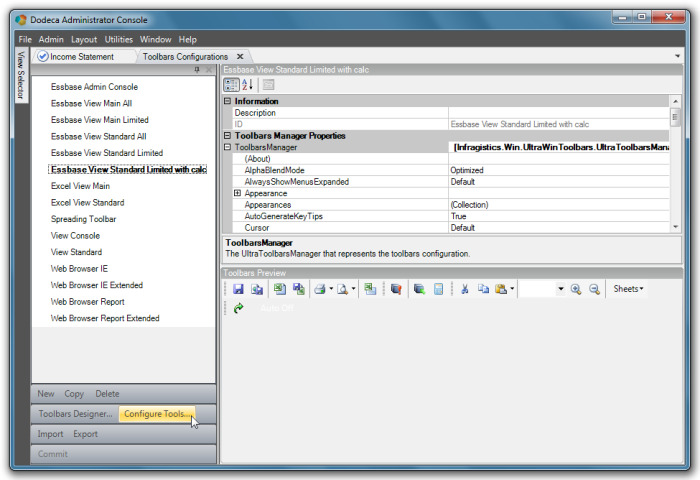
Configure Tools
Click Configure Tools to open the Configure “Essbase View Standard Limited with calc” Tools dialog.
From the Module drop down menu select CustomToolControllers.
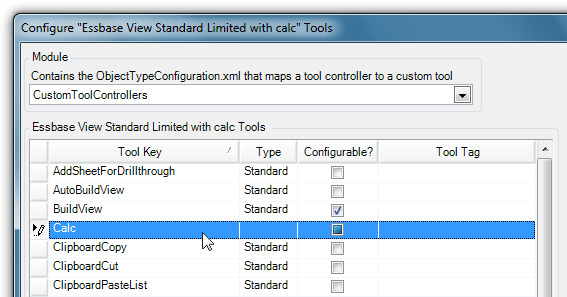
Highlight the Calc tool row in the Tool Key column and the properties display on the right.
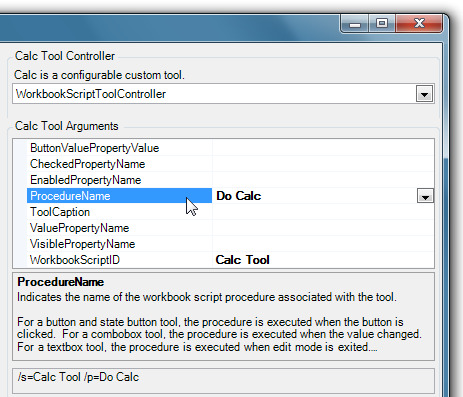
In the Calc Tool Arguments properties, set WorkbookScriptID to Calc Tool and ProcedureName to Do Calc.
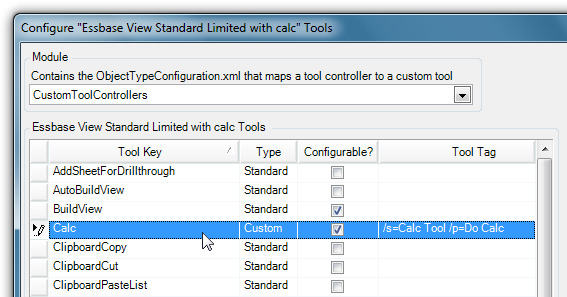
Click on Commit Module, Toolbars Configurations, and/or Views and then click Close.

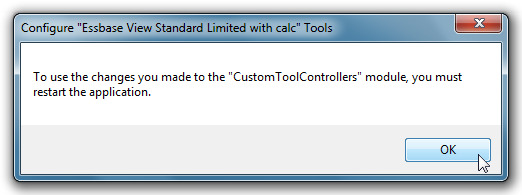
In order to view or use the changes just made to this Module, the application must be restarted. Click OK to accept the following dialog.
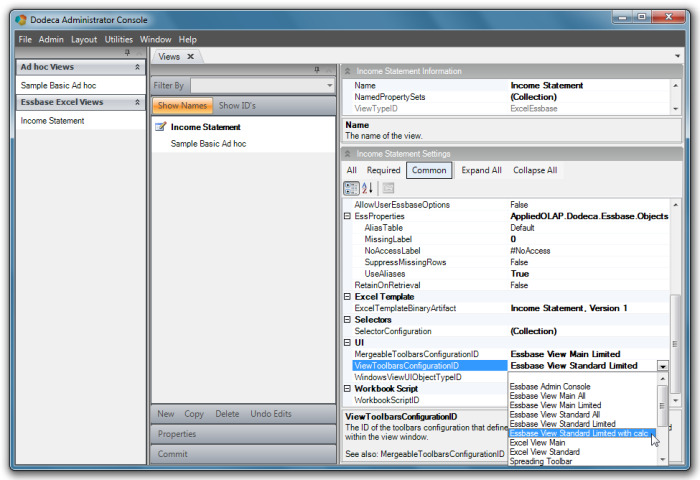
Editing Toolbar Settings in a View
Now that the Essbase View Main Limited with calc configuration is complete, it is necessary to go back to the Income Statement View and set the ViewToolBarsConfigurationID property. Select the Essbase View Standard Limited with calc from the dropdown menu. Commit the changes.
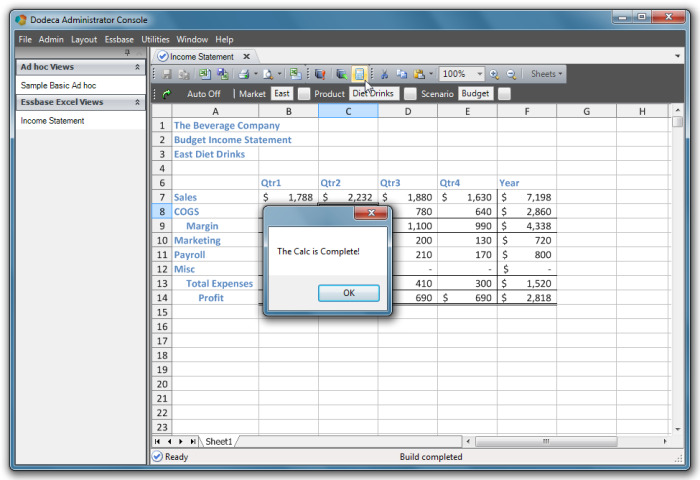
To test the new toolbar configuration, open the Income Statement View. Be sure that the selectors are filled and click on the build icon. Make note that the new icon for the Calc tool displays on the toolbar. Click on the calculation tool. After the Essbase Run Calculation is performed, a message box displays confirming that the calculation was successful.